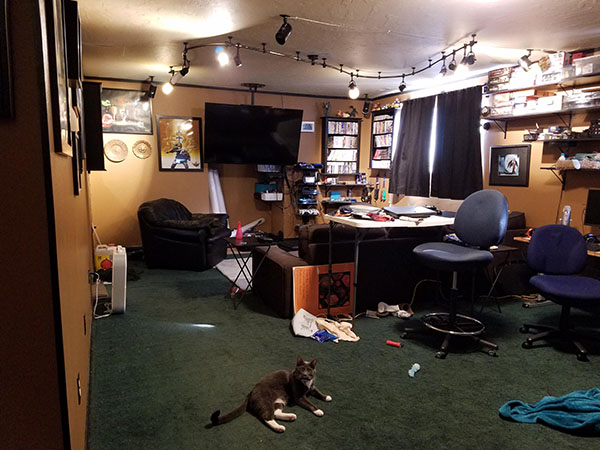
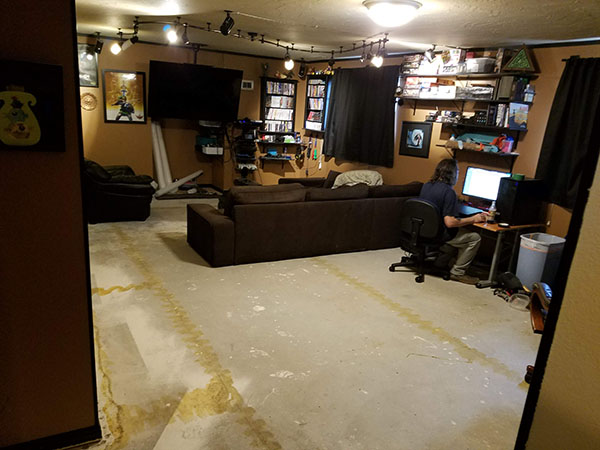
One of the last tasks remaining before we can declare ourselves done with disaster clean up was to replace the carpet in our family room. Only a small portion of the carpet got wet with flood water, but since it is attached to the rest of the carpet, the whole thing had to be replaced. Since the carpet was over twenty years old, it was past time anyway. Here is Milo displaying what needed to be removed.
The first thing we did was remove extra furniture and clutter. Most of it went into the garage with the remaining clutter from Howard’s office, an my office, and the bathroom. The garage will have to be it’s own project later. For now it is a hodge-podge of items shoved together randomly. The biggest challenge was that large sectional sofa. We didn’t want to have to carry it upstairs, so we opted for the “shove things to one side” approach.
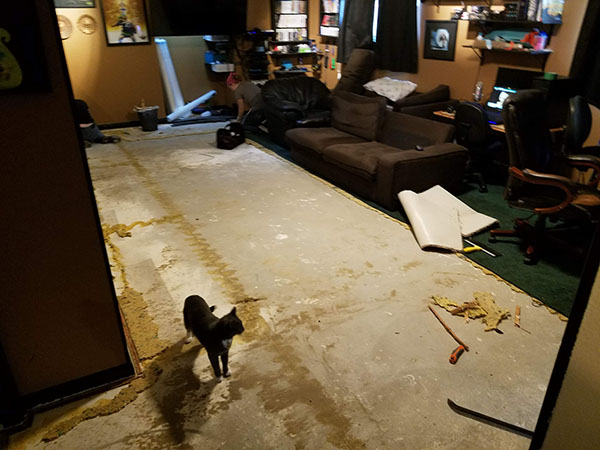
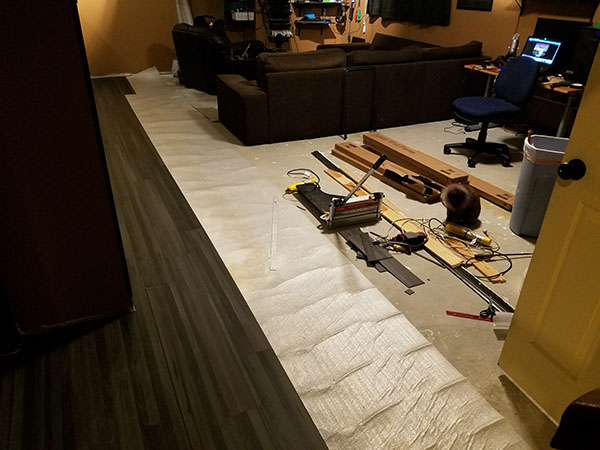
Pulling up the carpet was fairly simple. It cut into strips and we made rolls. The padding came up quickly as well, except where it had been glued to the concrete. We took crowbars and hammers to pull up the tack strips around the edges of the room. Then we used scrapers to remove glued on bits of carpet pad. Some of the glue spots scraped away cleanly. Other bits were…goey. But we got it all clear.
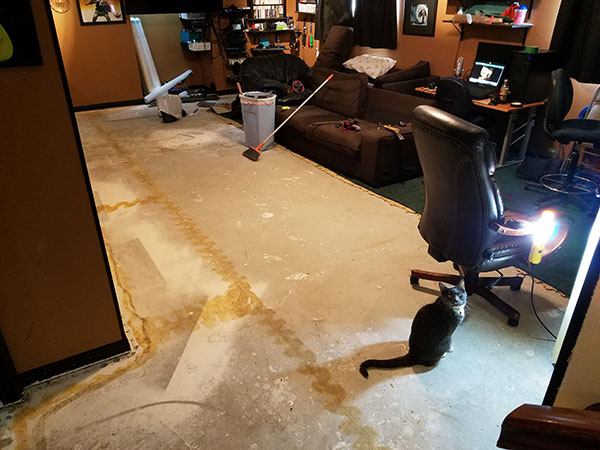
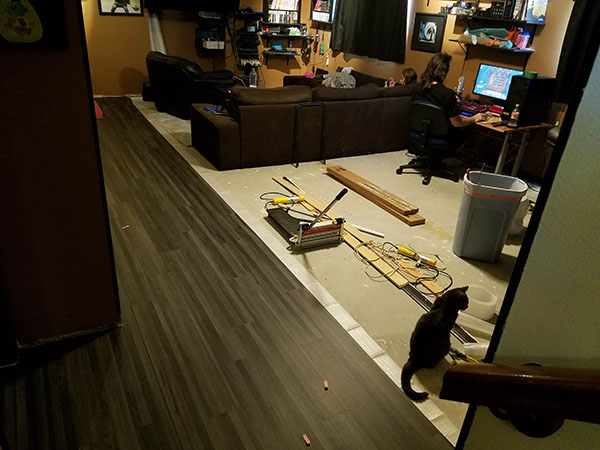
That meant it was time to push all the furniture onto the cleared concrete so we could repeat the process on the other side. Callie was quite interested in the re-configured furniture. (She’s wearing a cone because she had a sore on her chin that she kept scratching open.)
It took a full day to pull out all the carpet and scrape the concrete clean. I had help for a few hours in the morning, but the rest of the time it was just me, so the work went slow. In the evening we put the couch back into position so we could watch TV.
The next day I began work laying down the luxury vinyl plank. This is click-and-lock flooring which is very easy to assemble.
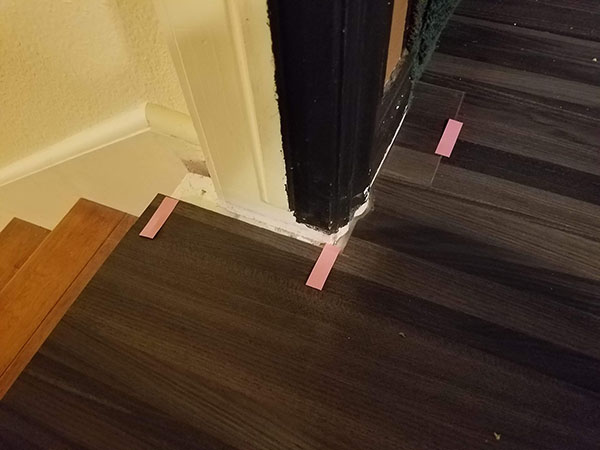
After I got the room about half assembled, I notice a couple of problem spots. I went across everything I had done and marked the problems with pink tape flags. One spot wasn’t clicked together properly, another couple had strange lumps underneath them.
But the really nice thing about this type of flooring was I just took it apart, fixed the problems and lay it back down again.

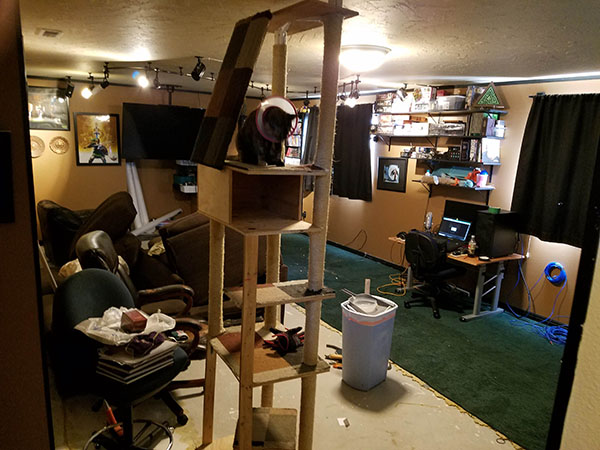
Once side one was complete we were ready to put furniture on it and lay down the other side.

The floor went down in a single day because I had help from two teenagers and another adult. Once it was down and furniture re-positioned, everything looked lovely again.
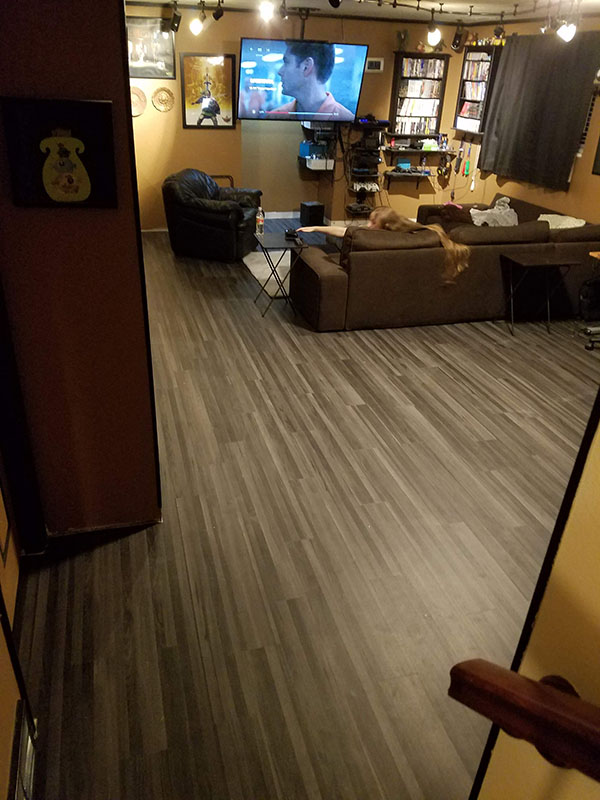
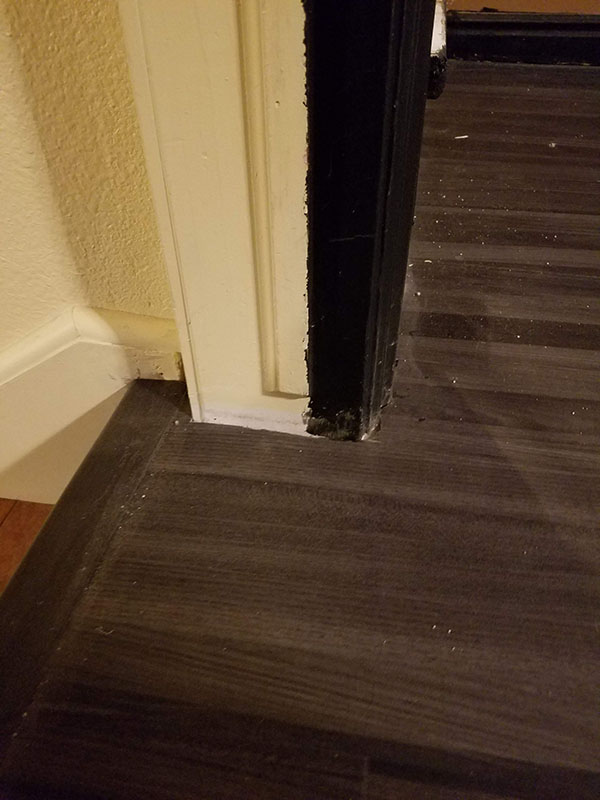
After the above picture was taken, I still had to replace the trim, but the rest was complete. Honestly, the only complicated bits were around door frames where I had to custom cut pieces by hand to fit around the edges. The first try on this one, I didn’t cut right.
The second time I cut more carefully, and I put the trim piece on the top of the stairs.
We’re very happy with the new look for the room. And as soon as I finish the stairs, I can have the insurance adjuster come inspect and then we’ll get the final insurance payout. Slowly but surely we’re restoring my house to normal again.