Last Wednesday evening I was feeling cranky and out of sorts. When I sat down to figure it out, I realized that much of it was that I felt conflicted about how to spend Thursday. Thursday was a week day and I had lots of work priorities that are up against deadlines. I should spend the day getting those things done. However Thursday was also my kid’s first day of Fall break. That mean regular rhythms were disrupted and perhaps I should spend the day in weekend mode, doing house and family things. As I thought it through, I realized that I was surrounded by house tasks that have been bugging me for weeks (or months) and which I’d kept shoving aside because of pressing work deadlines. It was time to let house and family shove aside work. So Thursday was a house day.
Next came the question of how to pick which house chores to do. There are far more than could be accomplished in a single day, but none of them had attached deadlines therefore I couldn’t sort-by-deadline the way I often do with work tasks. Also I was tired of chasing deadlines and following long lists of To Do. I decided to just pick whichever task was bugging me most, or whatever I felt like doing next. Then when one task was done, I would take a break while picking the next one.
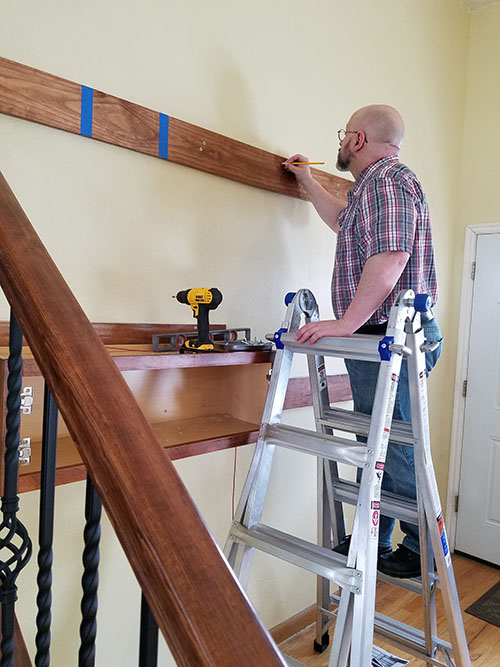
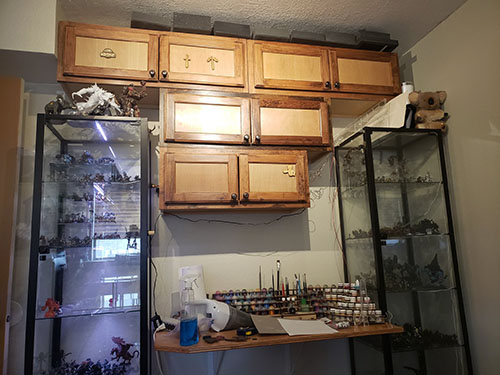
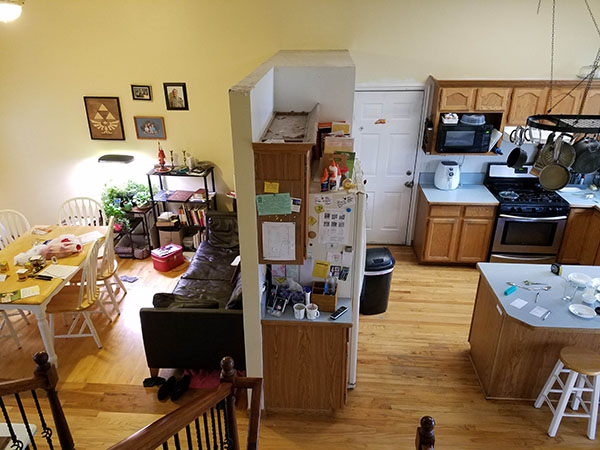
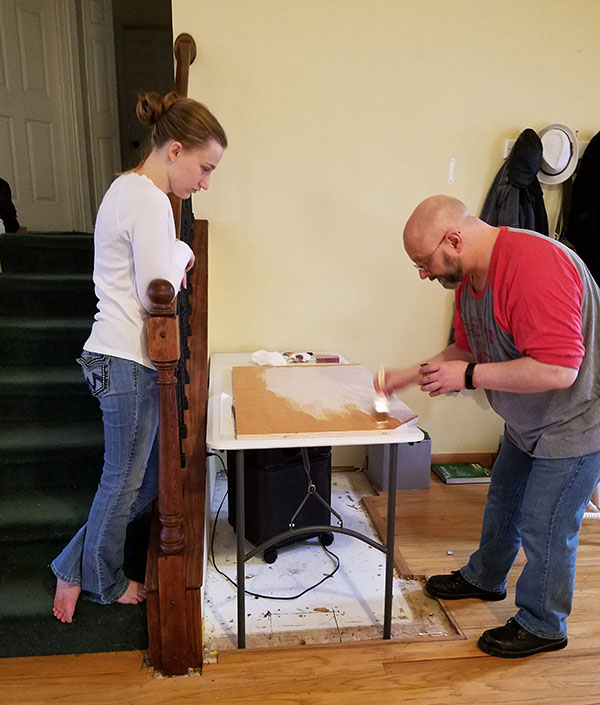
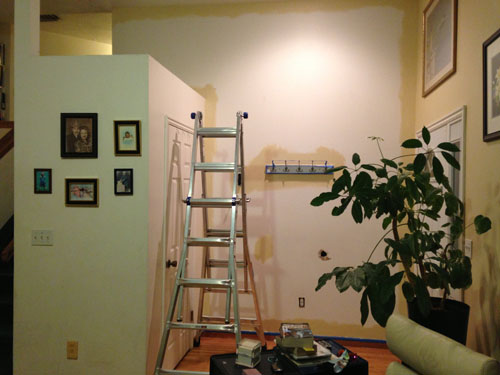
The first thing I tackled was finishing the paint in the kitchen. I began painting the kitchen almost a year ago, because I was really tired of dingy white with dirt streaks where grime accumulated on the studs.
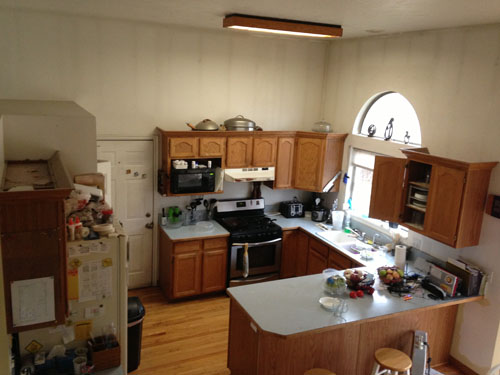
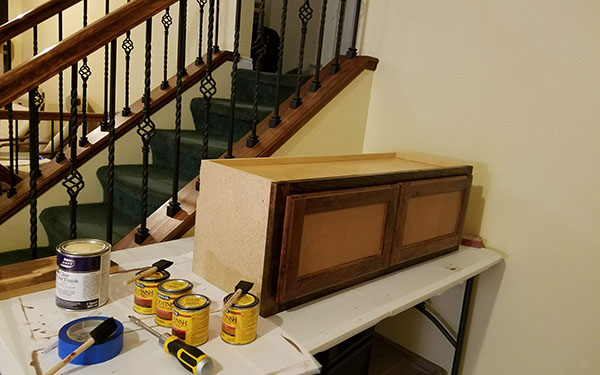
But when I got to the space over the cupboards, a confluence of circumstances (I needed different tools, reaching over cupboards was more awkward, Planet Mercenary started demanding full attention) meant that I painted some of the edges, but not the entire area. I don’t have a picture of this partially painted state, but it was the worst of both. Painted sections looked sloppy/unfinished, while unpainted sections still sported dingy white and dirt streaks. It sat that way for ten months. Until last Thursday when I hauled out the ladder and paint supplies. Within two hours I had this instead.
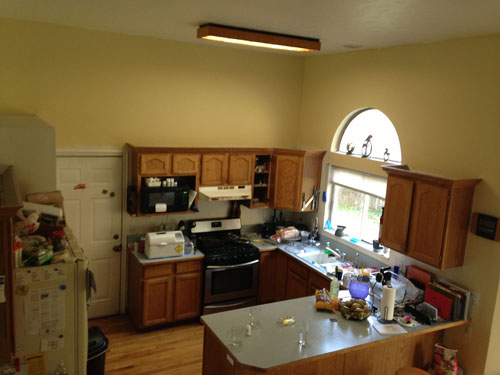
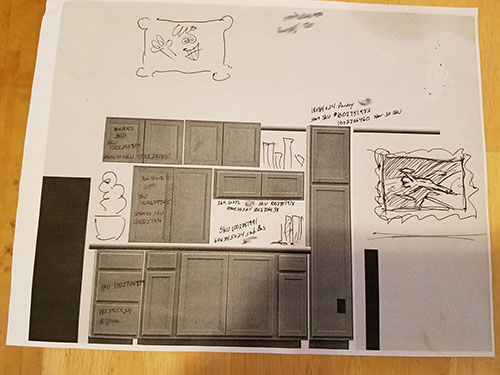
The kitchen still needs a lot of work. A full remodel is in the planning stages, but this small piece of it is done.
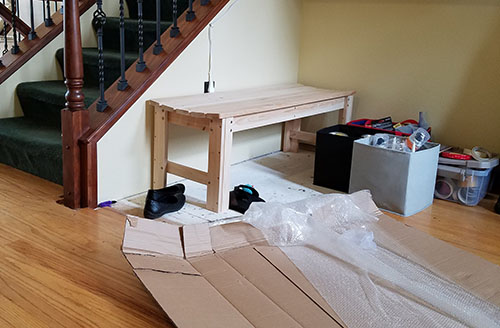
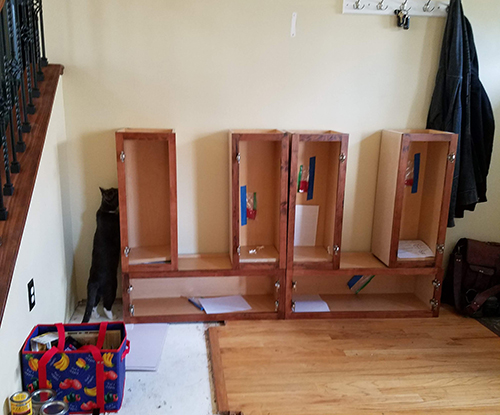
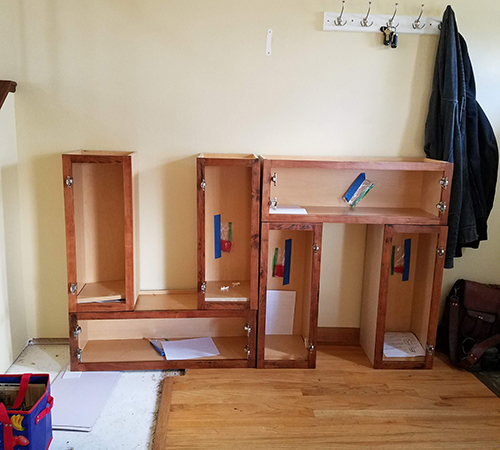
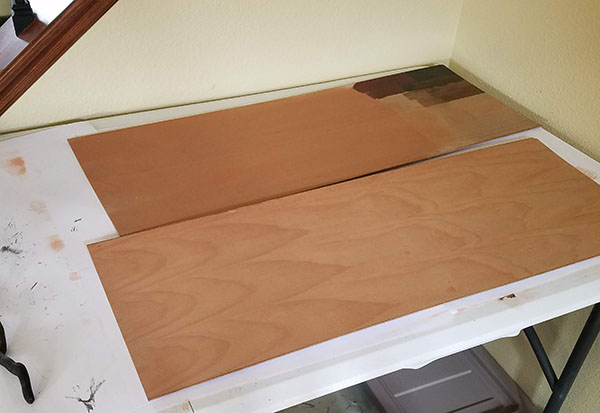
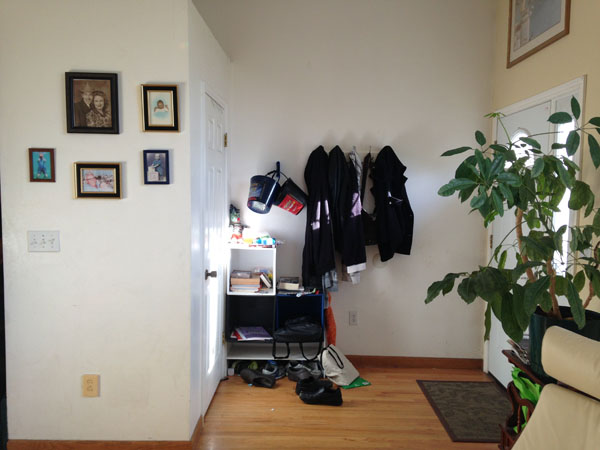
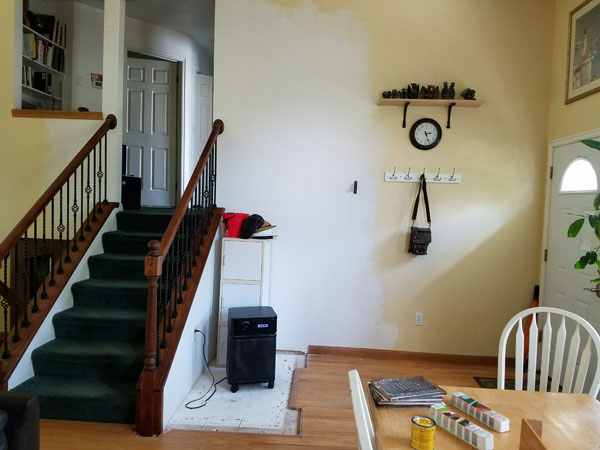
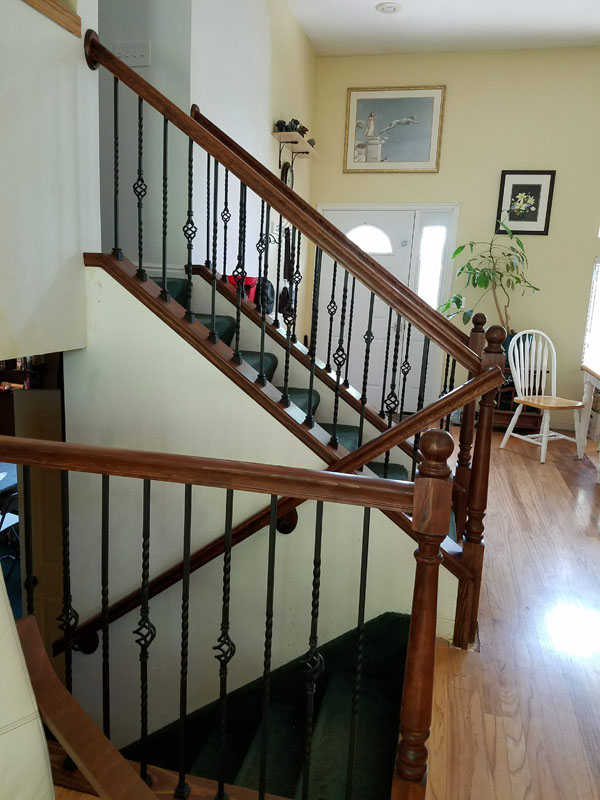
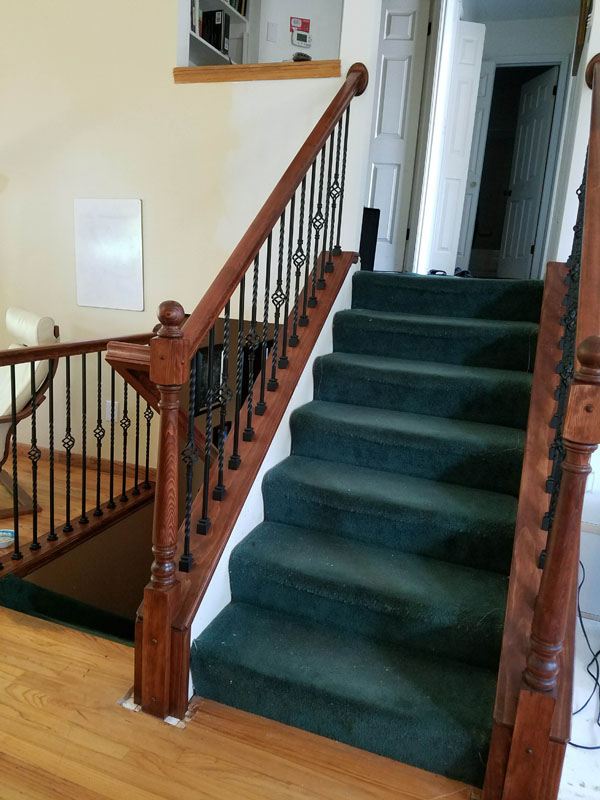
A related task was started last December and had also been stalled since then. As part of our proposed remodel, we wanted to remove a closet. This one:
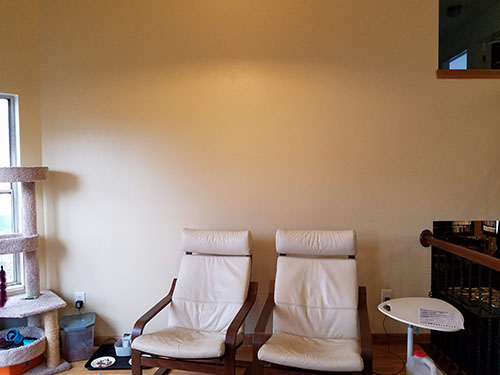
It was basically a box near the front door where we shoved all the things we didn’t have places for. It was always cluttered and unusable. We wanted to open up the space. Last December I dismantled the closet, painted the wall, and put up coat hooks.
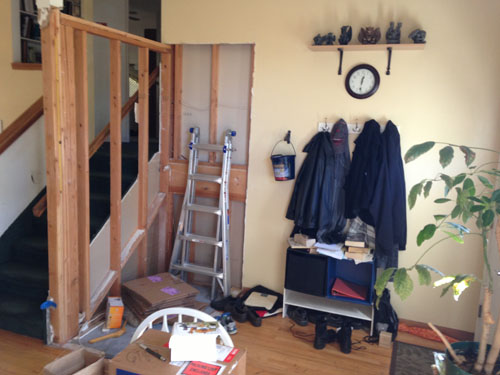
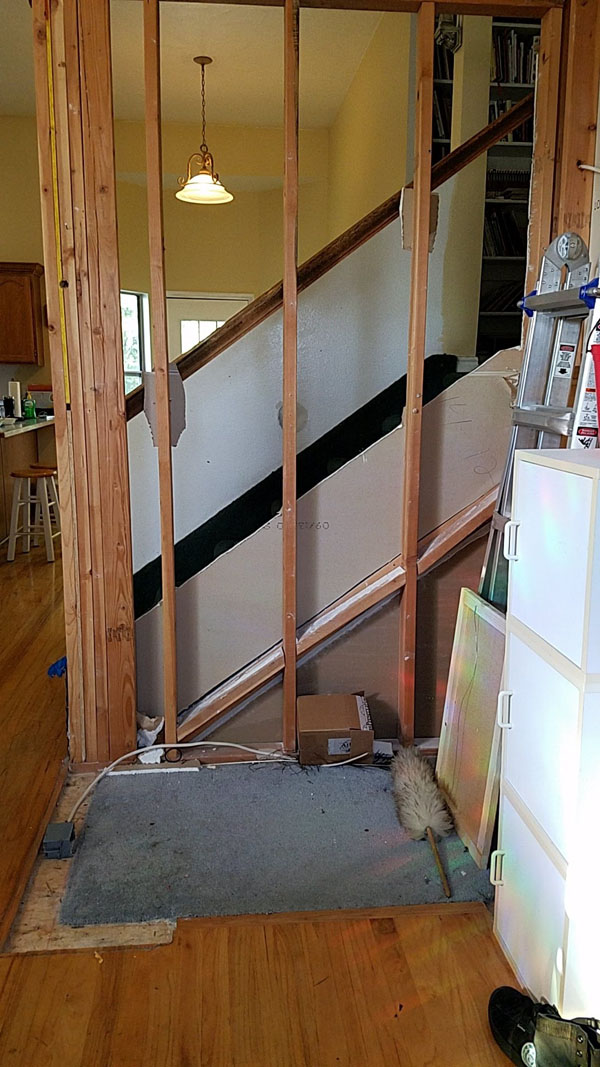
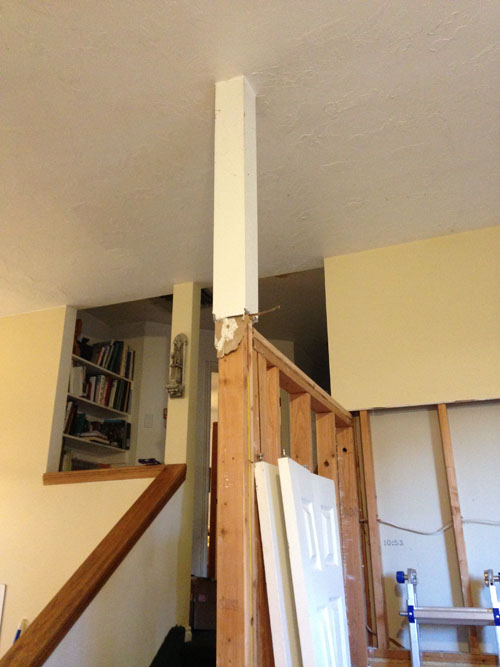
Then I ran into a problem. One post from the closet ran all the way up to the ceiling. We were pretty sure that it wasn’t a load bearing structure. Other houses in our neighborhood with the exact same floor plan, didn’t have posts. However, I wanted “pretty sure” to be “absolutely sure” before I took it down. So the project stalled. And I stared at bare studs and an ugly post for ten months.
I finally got out the ladder and climbed into the rafters of the attic crawlspace. Using a flashlight and taking care not to step on anything except solid rafters, I measured to where the post was. I discovered this sticking up from the insulation and sheet rock.
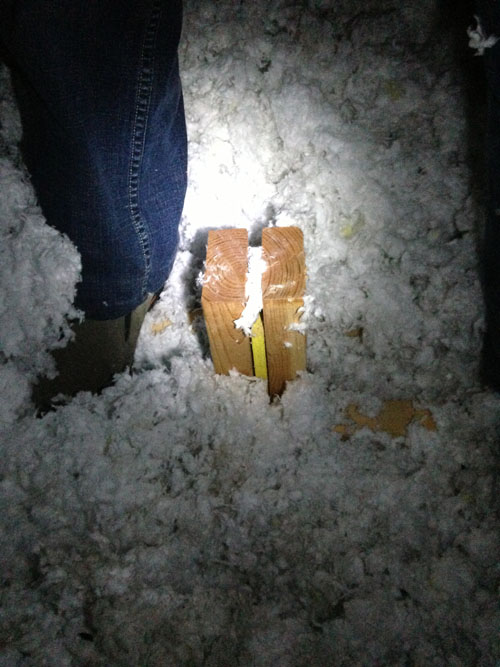
Definitely not a load bearing structure. I didn’t tackle the removal on Thursday. I still have research to do on how best to remove it. I’ll probably need to rent tools. But that post is now doomed and the project can proceed.
Other things I accomplished on Thursday:
Taking a pile of unwanted clothes and things to a thrift store
Scouring out a bathroom that had become disgusting
Vacuumed several rooms
Reorganized a linen closet (thus acquiring a new pile of things to donate)
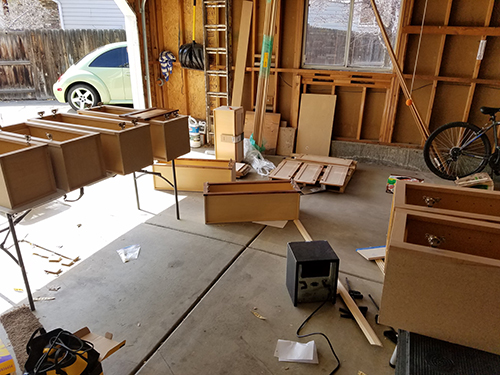
Turned a jumble in the garage into a swept and usable space
At the end of the day I’d done many tasks that had been niggling at my attention for a long time. A new set of household tasks is now jockeying for position, because that is the nature of houses and tasks. But I feel better about my house than I have for ten months. It feels like house projects can move forward instead of being perpetually shoved aside or stalled.
Friday I spent six hours driving to retrieve college girl from campus. She has fall break this weekend.
Saturday I had to decide whether to re-shoulder the burden of my work To Do lists or to continue focusing on house and family. I picked a middle ground. I did work, because those deadlines really do matter and I couldn’t feel good about blowing them off completely, but I didn’t sort tasks by deadlines. Instead I did whichever work task was bugging me the most. They’re all the same tasks, just sorted a bit differently. I got quite a bit done. There is still much more left to do.
Here at the beginning of a new week, I know I have deadlines to meet before Friday. So I’m going to have to do some deadline based prioritization, but it is nice to have another strategy available so I can switch things up when I get worn out. I get worn out a lot lately. I’ve been under deadline pressure since late 2016, which is a really long time to carry that weight.